
In this tutorial I will show a step by step how I make floral crowns.
What you will need
Wire, florist tape, flowers (I use dried, preserved and artificial), ribbon, wire cutters, tape measure, scissors and glue (optional).
I find a paper or sting wrapped wire can be easier to work with. For fuller crowns I tend to use grapevine and for thinner or more delicate crowns I use bind wire.
I make my flower crowns with small loops at the back, and use ribbon to secure. This makes the crowns adjustable.
For fuller crowns use larger flowers or just more of them. For this method flower will need to be on stems. If some of the flowers you have chosen aren't on a stem you can glue them in place.
Method
To make the base of the flower crown with wire, start with the loops which will sit around the back of the head. To do this make the shape of the loop and twist the wire just underneath it to secure.
The loops need to be big enough to push your ribbon through. I recommend the size of your fingernail.

The next step is to measure out your length of wire. For an adult I'd recommend 22", but if you don't have a tape measure simply use your head for reference.
Once you have measured out the length of wire make another loop so there is one at each end. The wire should be around 22" including the loops.

Cut off any excess wire and push down bits that may be sticking out.

Now you have made the base for the crown it's time to add the flowers.
To start, cut a length of florist tape and gently pull at one end. This makes it sticky. Wrap that end around the base you have just created, just below one of the loops. I usually wrap it around a few times before adding any flowers to make sure it's secure. I find this easier than adding the flowers straight away.

Now place the flower stem on top of the wire base and wrap the florist tape around to secure it.
Be sure to pull the florist tape gently as you wrap to keep it sticky.

When adding in the flowers I usually add small bits at a time and gradually build. However, it's up to you how many you want to add in at once.
If you have cut your florist tape into usable lengths you will probably run out before completing the crown. If so just add more by doing the same process as before, cut another length, gently pull on one end to make it sticky and then wrap that end around the base where your other piece finished off.

Keep adding in more and more flowers until you have made it around the base to the other loop. You may need to cut any long stems as you go.
It's a really simple process but can just take some time if you have a lot of small flowers.

Once you have covered the base and are at the other loop cut off any florist tape you have left.
You should be left with an end that looks something like this.

You can either leave it like this or glue some flowers over the top to give a neater finish.
I use a hot glue gun for glueing flowers but depending on what type of flowers you are using a different glue may be better suited.
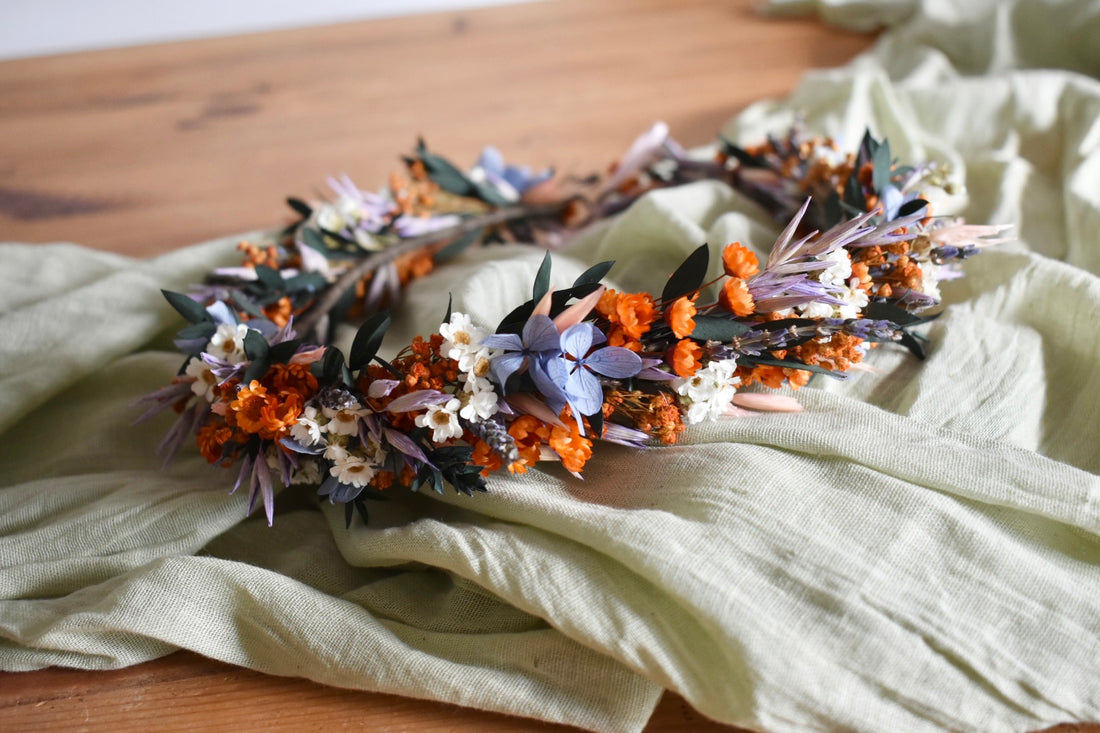
Once you have finished it should looks something like this.

Lastly, with ribbon of your choice, thread through each loop and tie in a bow.
You should now have a completed floral crown ready to wear.